
Standardize Your Source Data
Sources · Updated August 13, 2025
Introduction
This document details the process of standardizing source data within Reactor Data. Data standardization is the next crucial step in preparing data for mapping after connecting to a data source, initiating data ingestion, and defining the source's Identity Setup. This document outlines data standardization and explains its importance in ensuring data quality and consistency.
Key Objectives of Data Standardization
The data standardization process in Reactor Data focuses on three primary objectives:
- Define Personally Identifiable Information (PII) Controls: Configuring the PII settings enables Reactor to mask and redact data when a customer requests the anonymization of their personal data (ℹ️: Read our article Requesting Removal of Consumer Data for more information on this process).
- Resolve Data Type Conflicts: It's important to analyze the incoming data source's schema to identify any data type conflicts that may hinder downstream processing. When conflicts are detected, you can write Data Standardization expressions to enforce consistent data types.
- (Optional) Configure Data Cleansing functions: Within the Data Standardization interface, users can write transformation expressions to cleanse source data, performing enhancements like stripping non-numeric characters from phone number fields or trimming whitespace.
What is a Data Standard?
The Data Standard feature addresses the challenges of inconsistent and poorly formatted data. Inconsistent data can lead to errors, inefficiencies, and unreliable analytics. Data Standard helps to:
-
- Enforce consistent data types.
- Apply custom transformations.
This ensures that your data is uniform, clean, accurate, and ready for downstream use.
How to Configure a Data Standard
To configure a Data Standard for a data source:
-
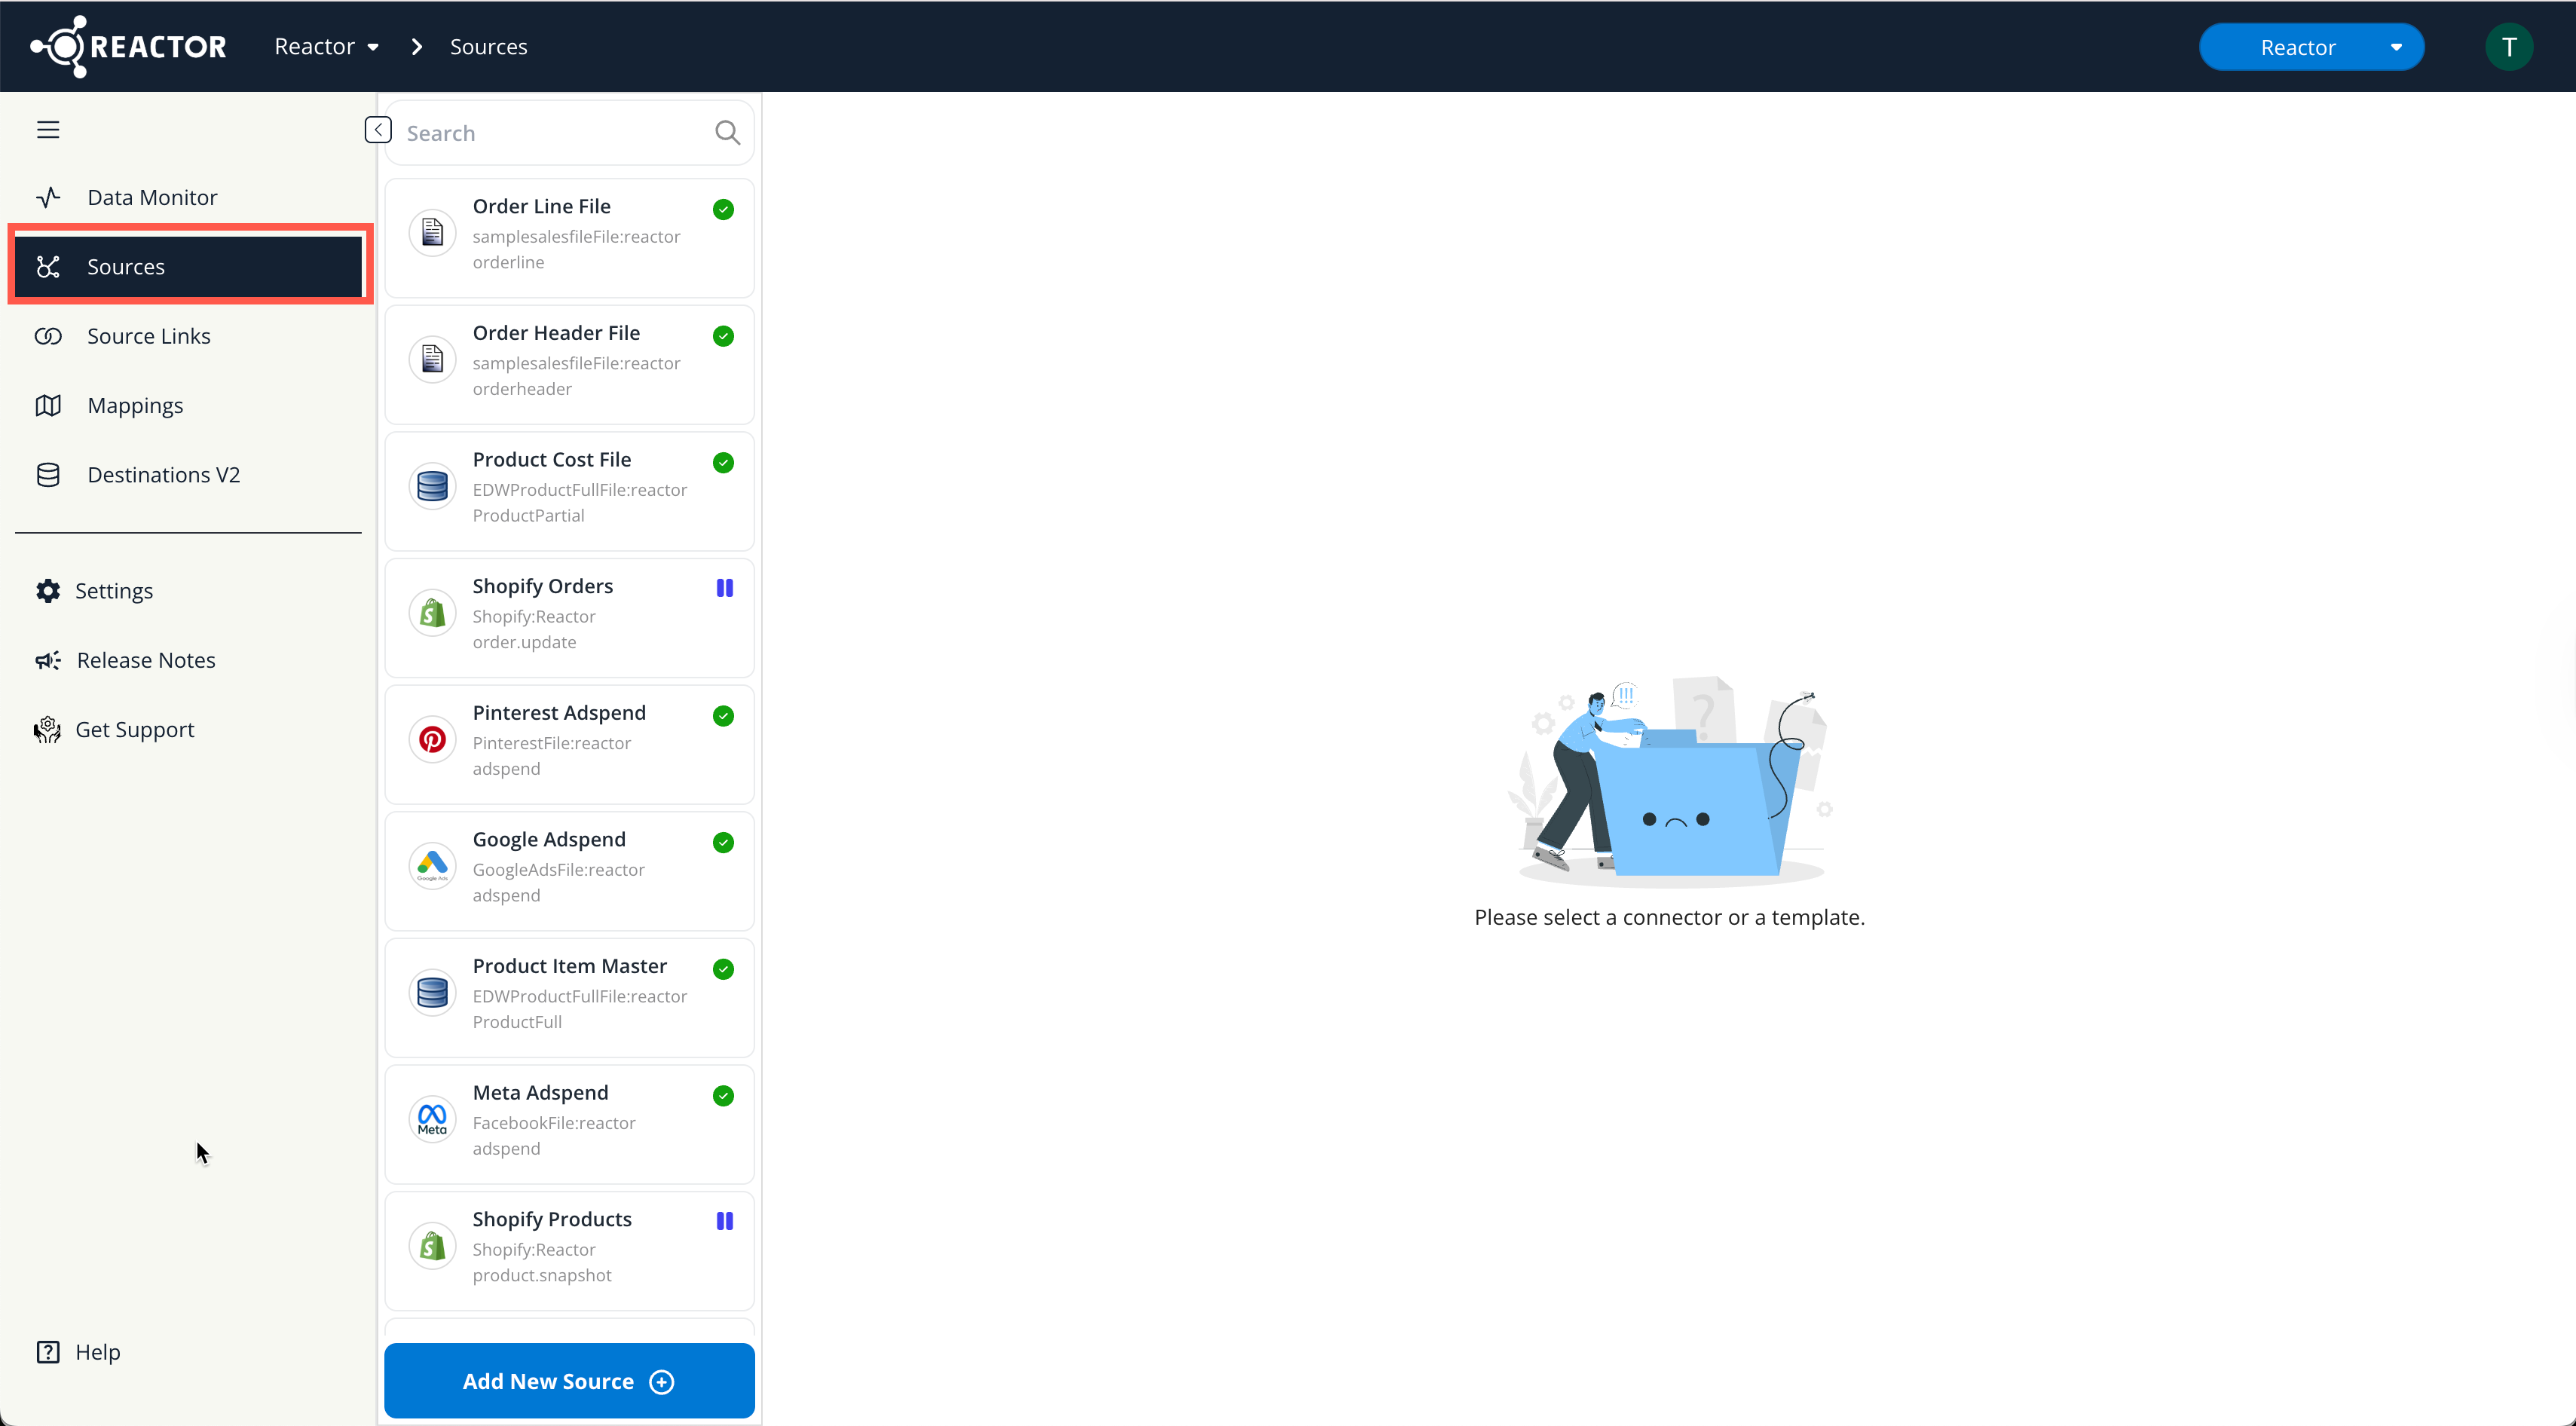
Navigate to the Sources Panel:
-
In Reactor, use the left sidebar to select Sources.
-
-
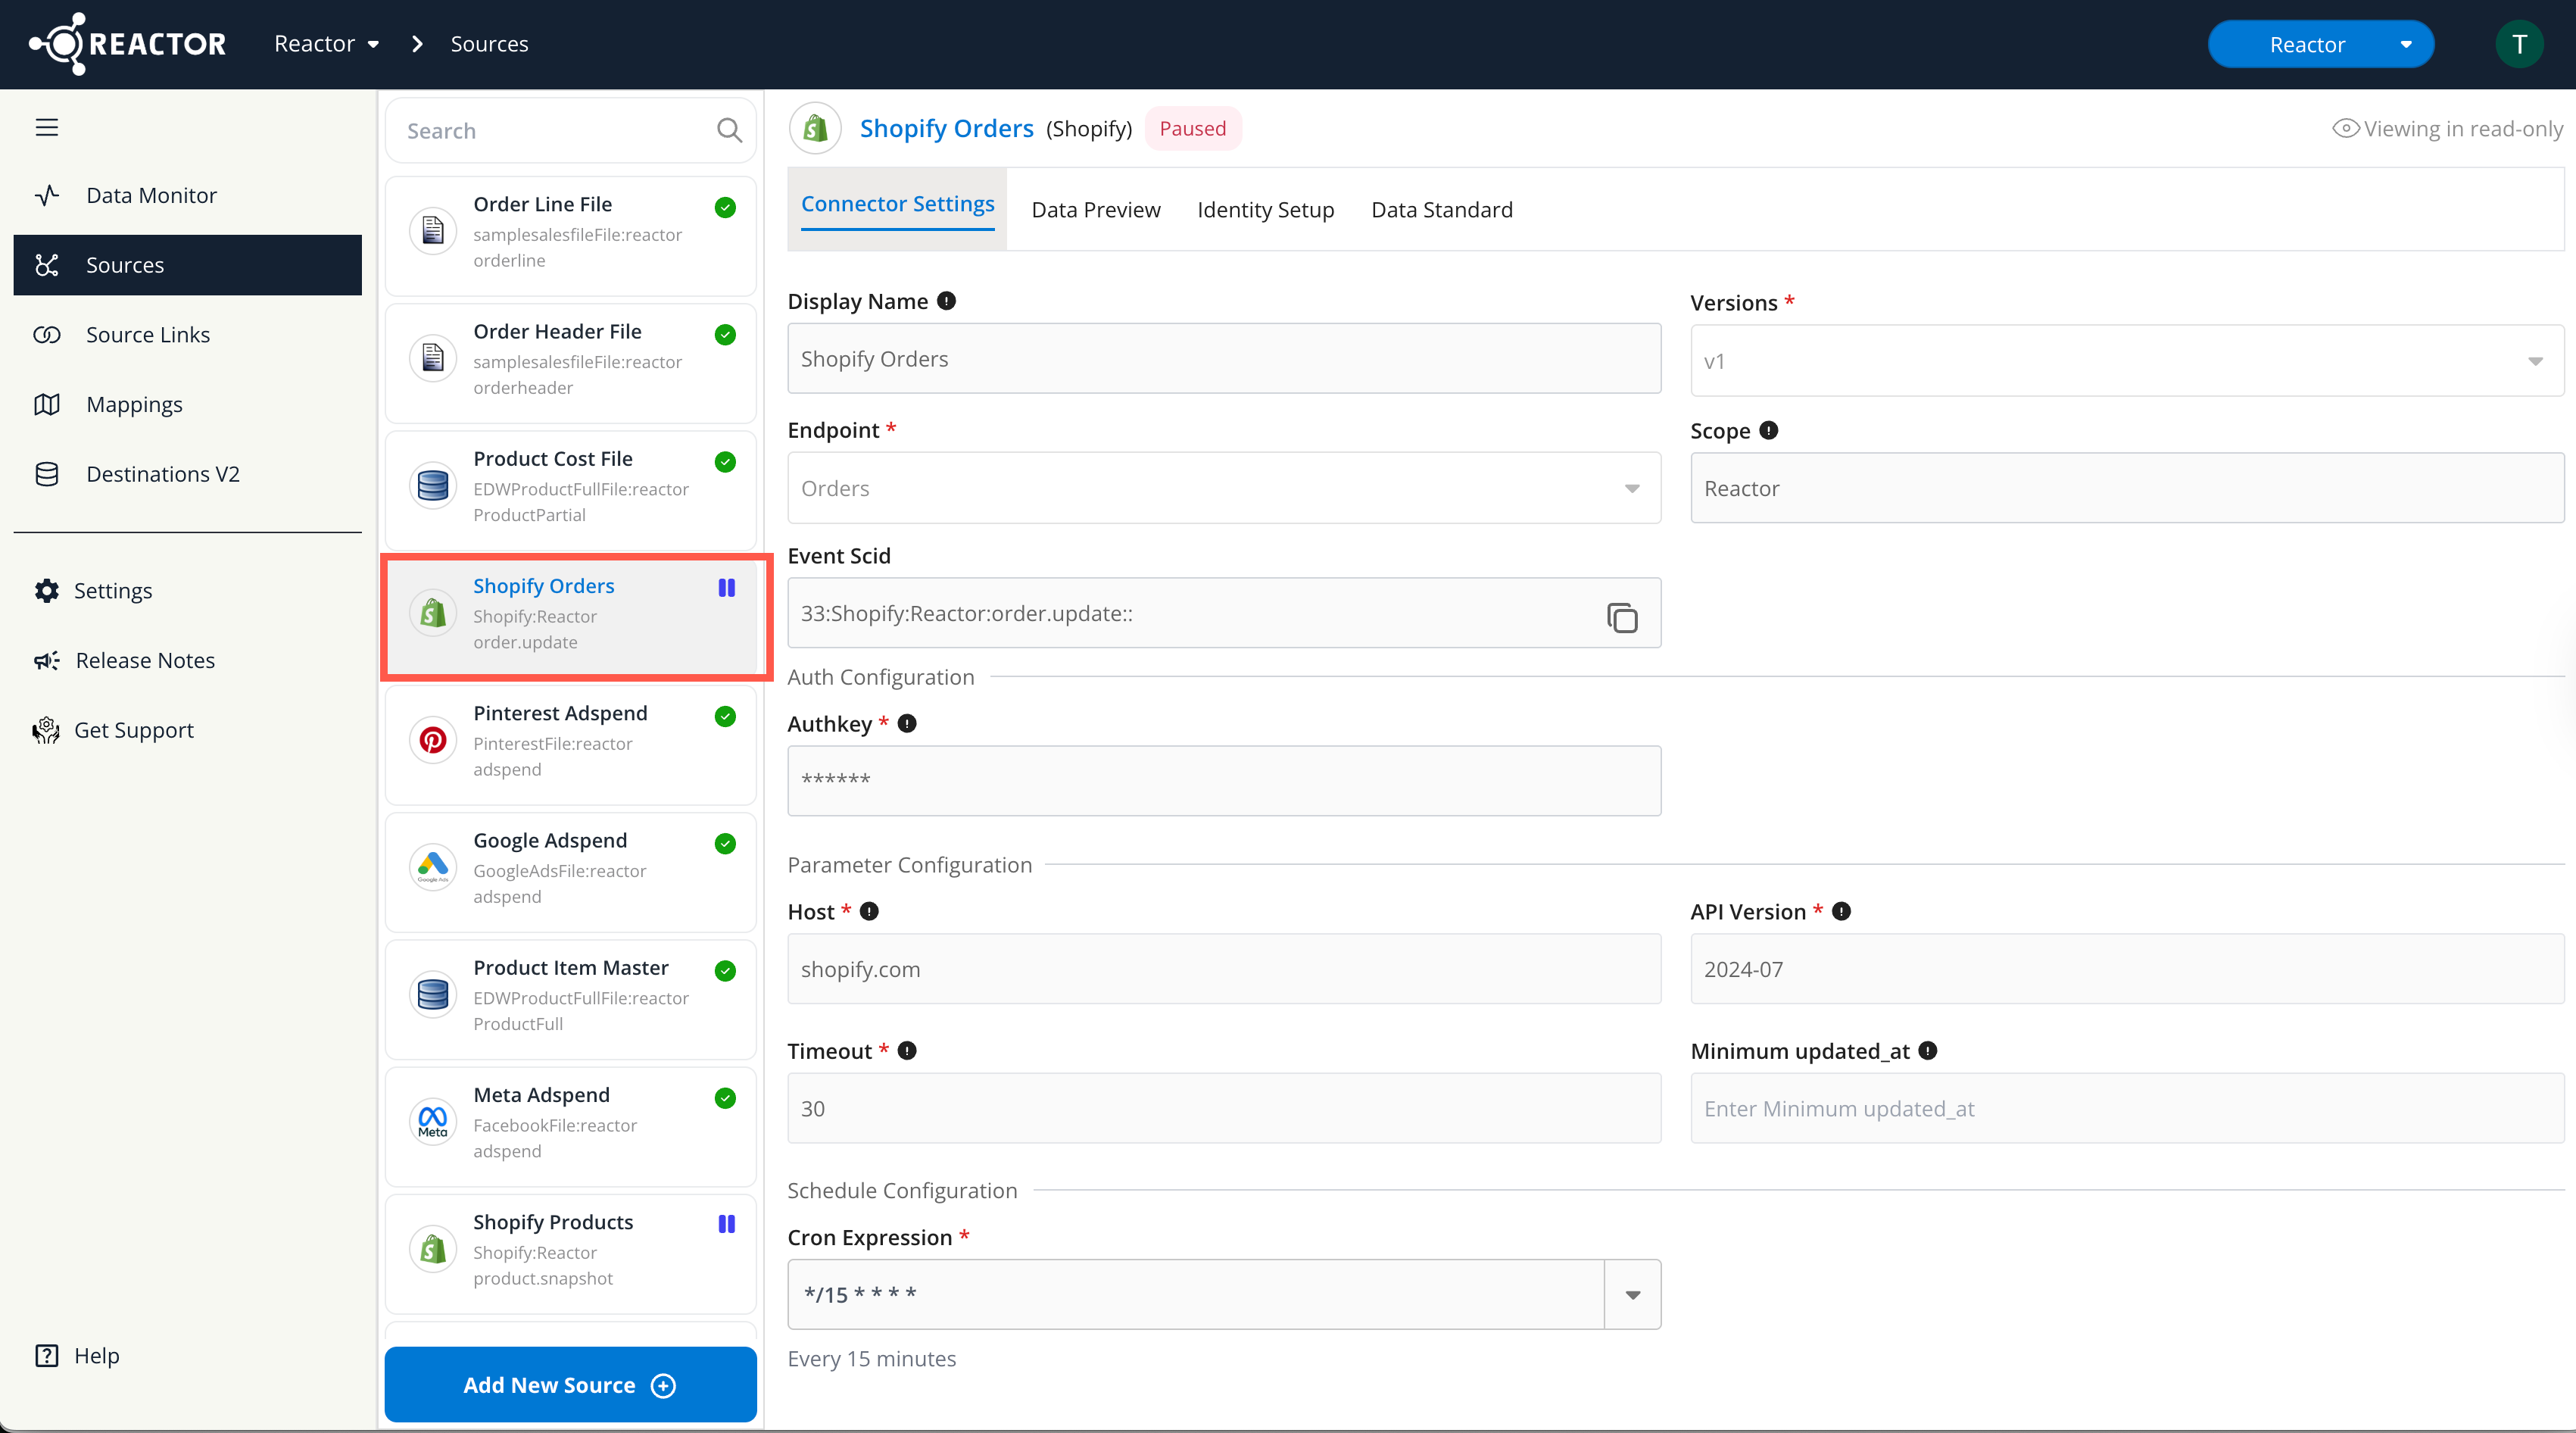
Select the Source:
-
Select the source for which you want to configure a Data Standard from the left sidebar:
-
-
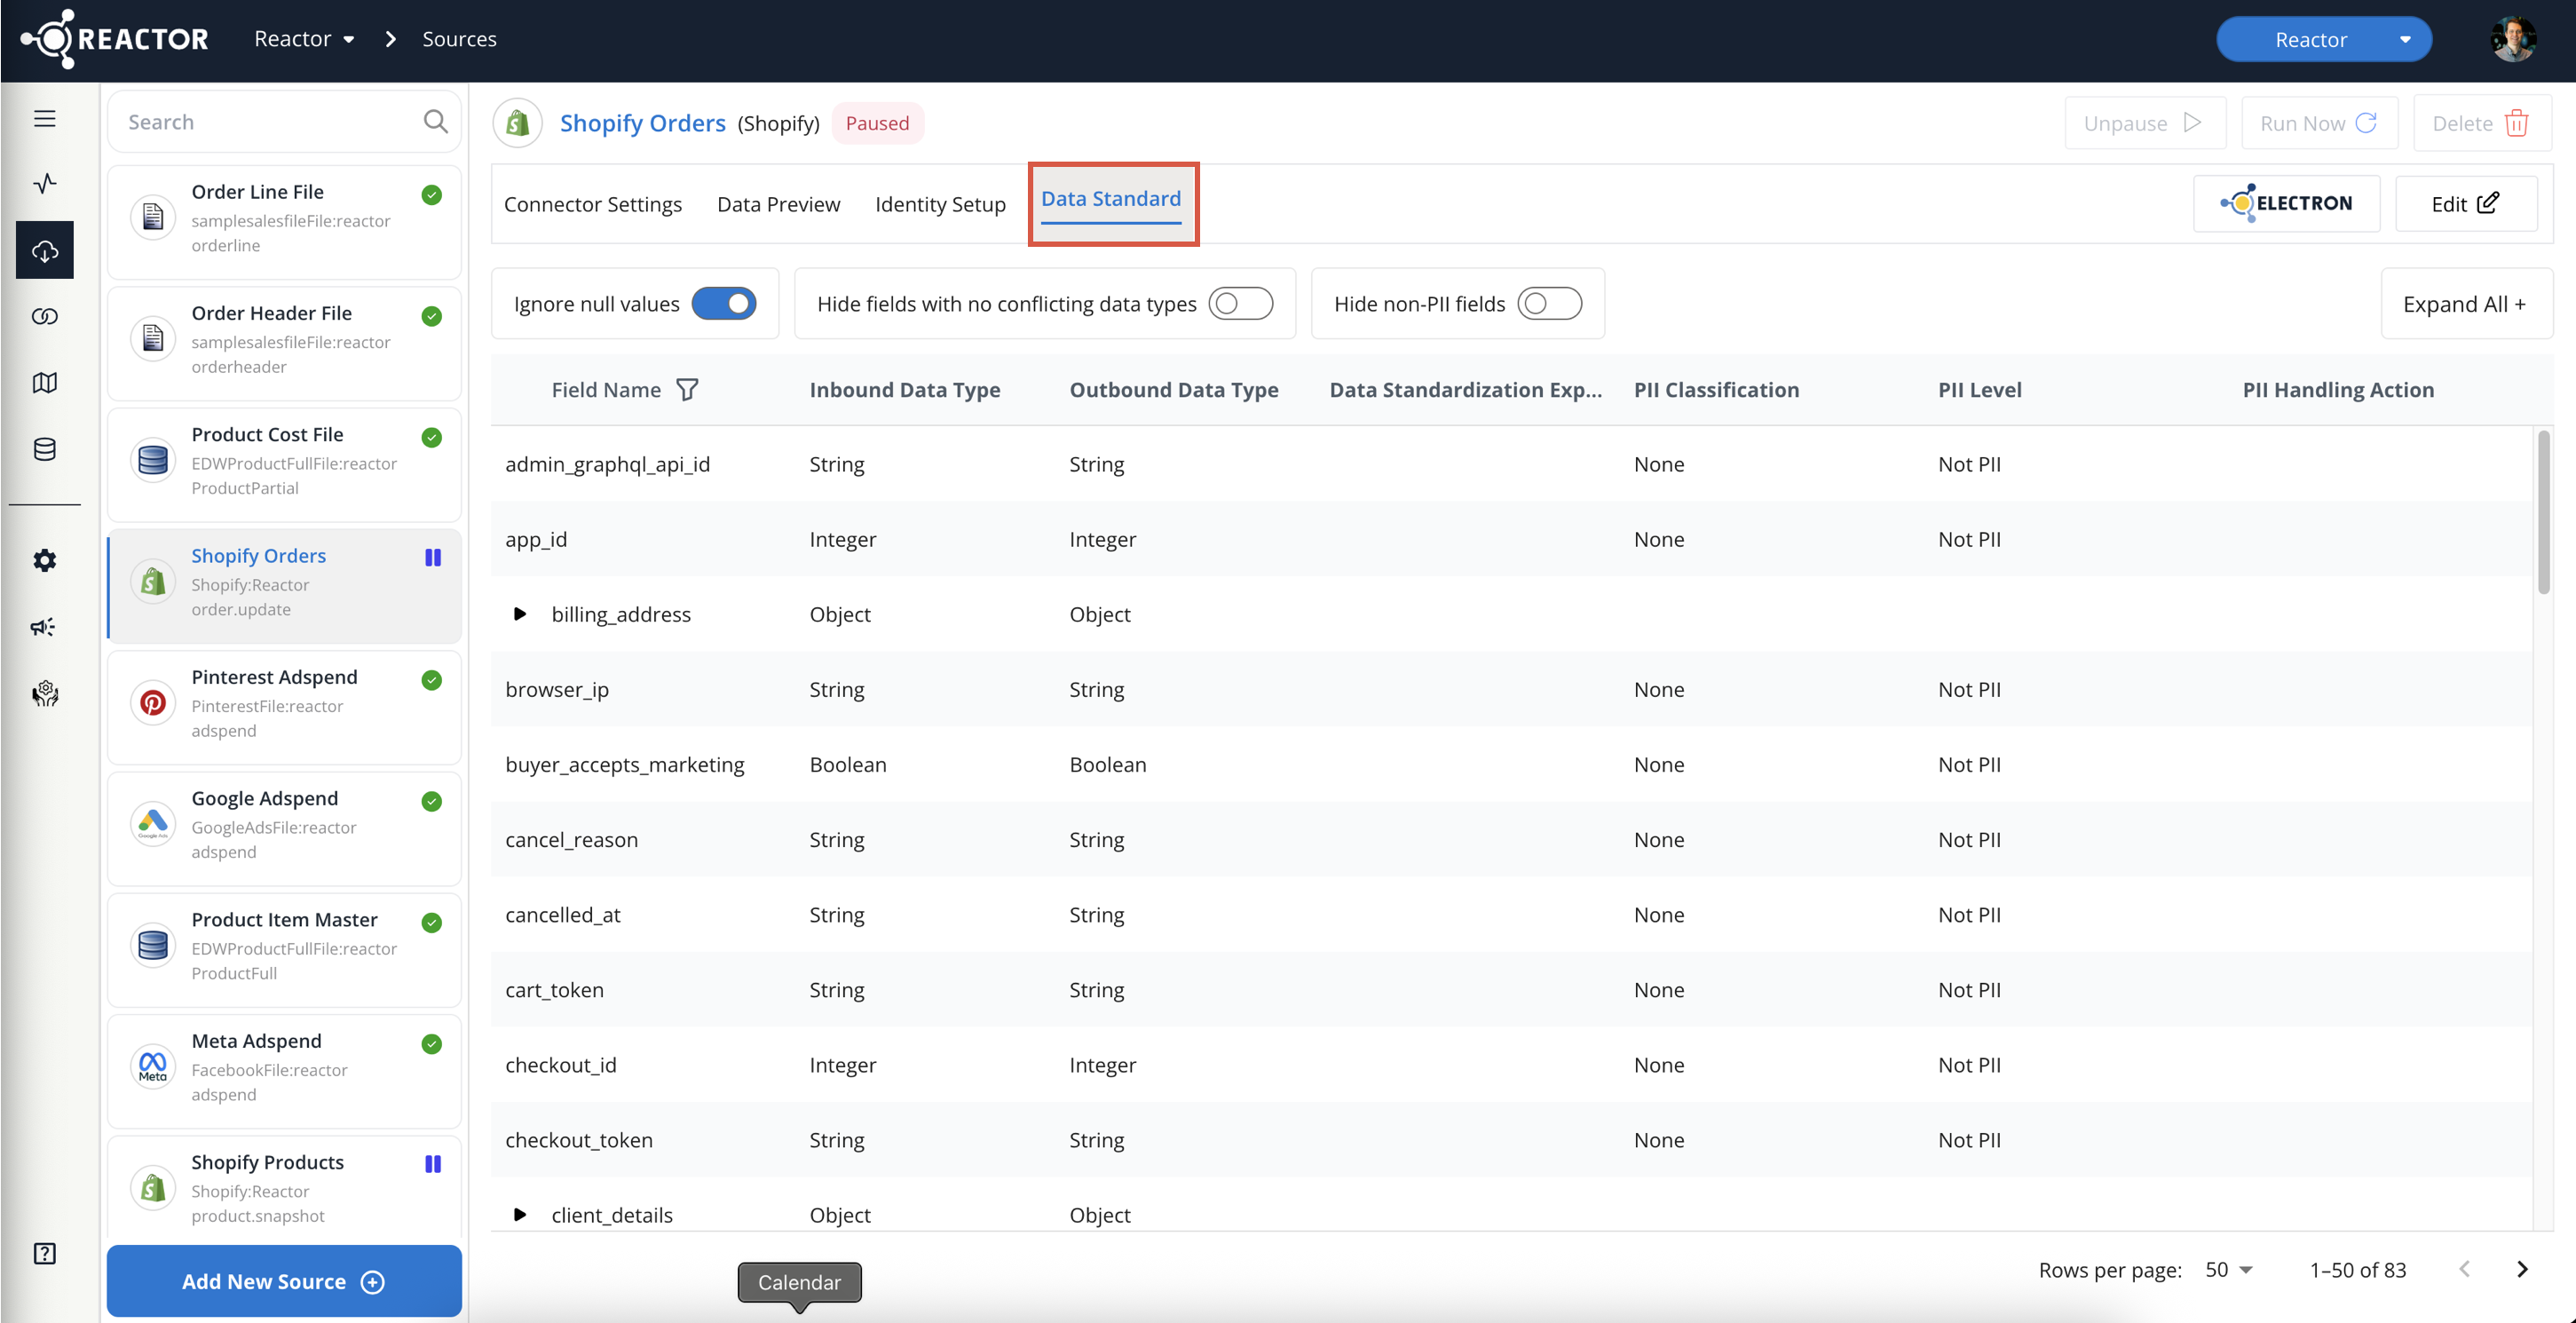
Select the Data Standard tab:
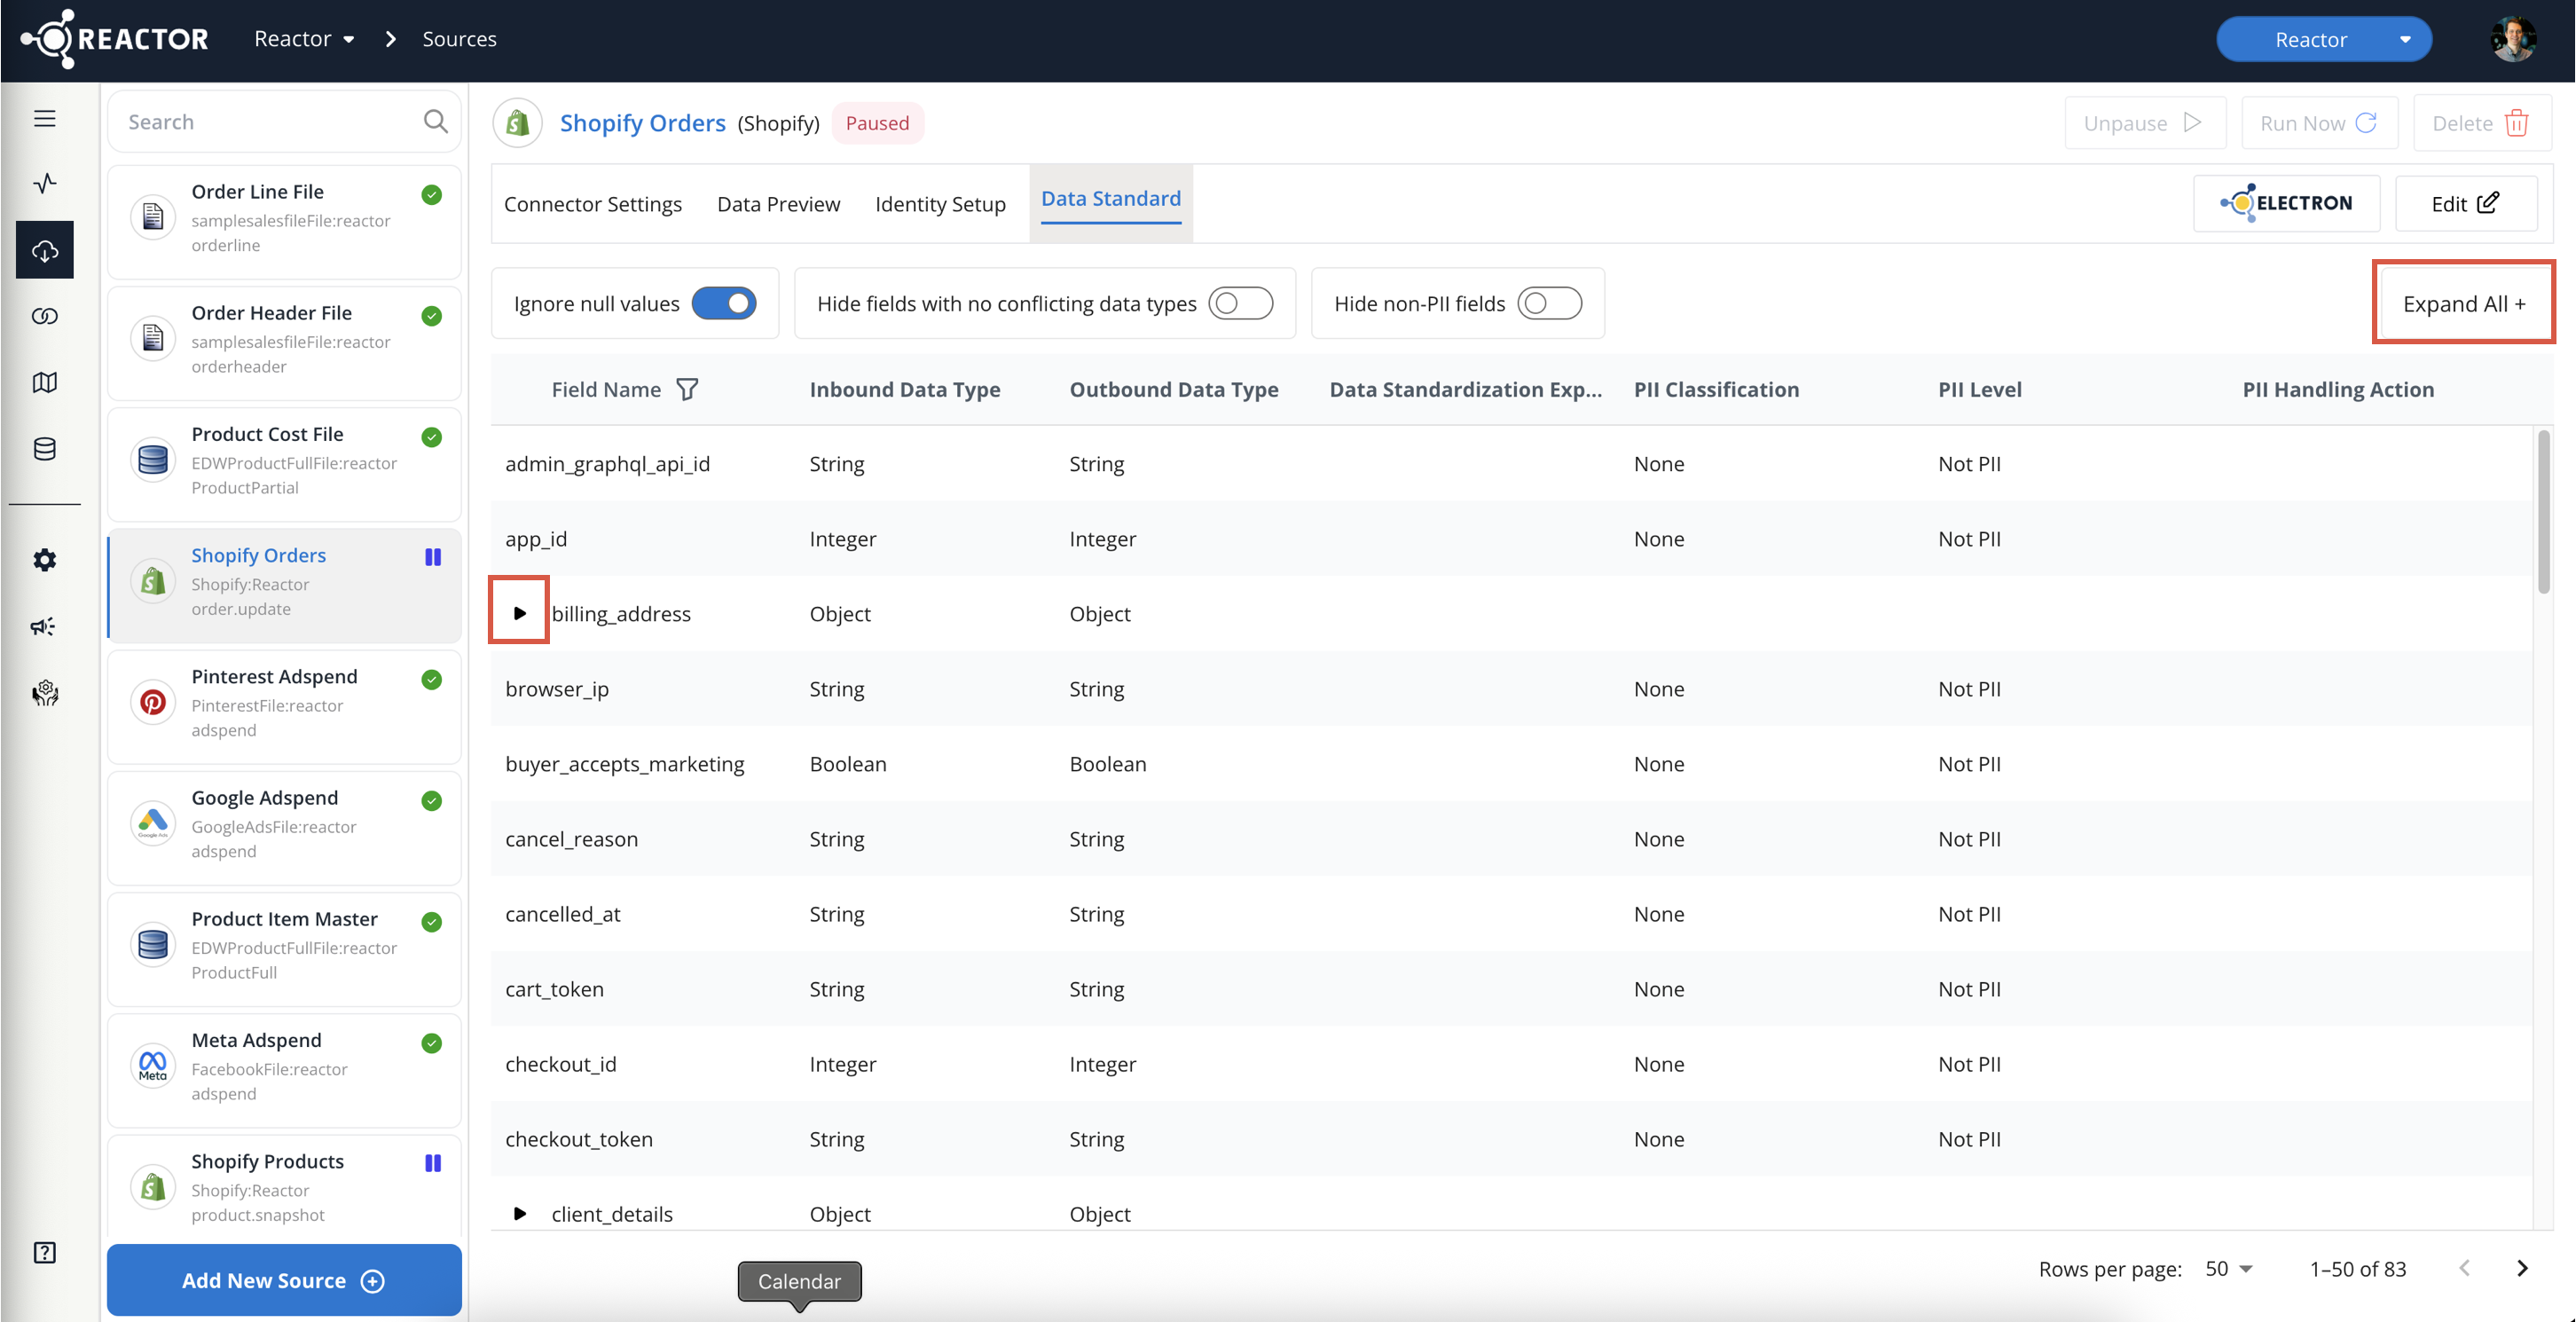
- To view nested fields within objects, click the arrow icon next to the parent object to expand it.
- Alternatively, use the "Expand All" toggle to expand all nested fields.
-
Enter Edit Mode:
- Select the Edit button at the top-right of the screen to enter Edit mode:
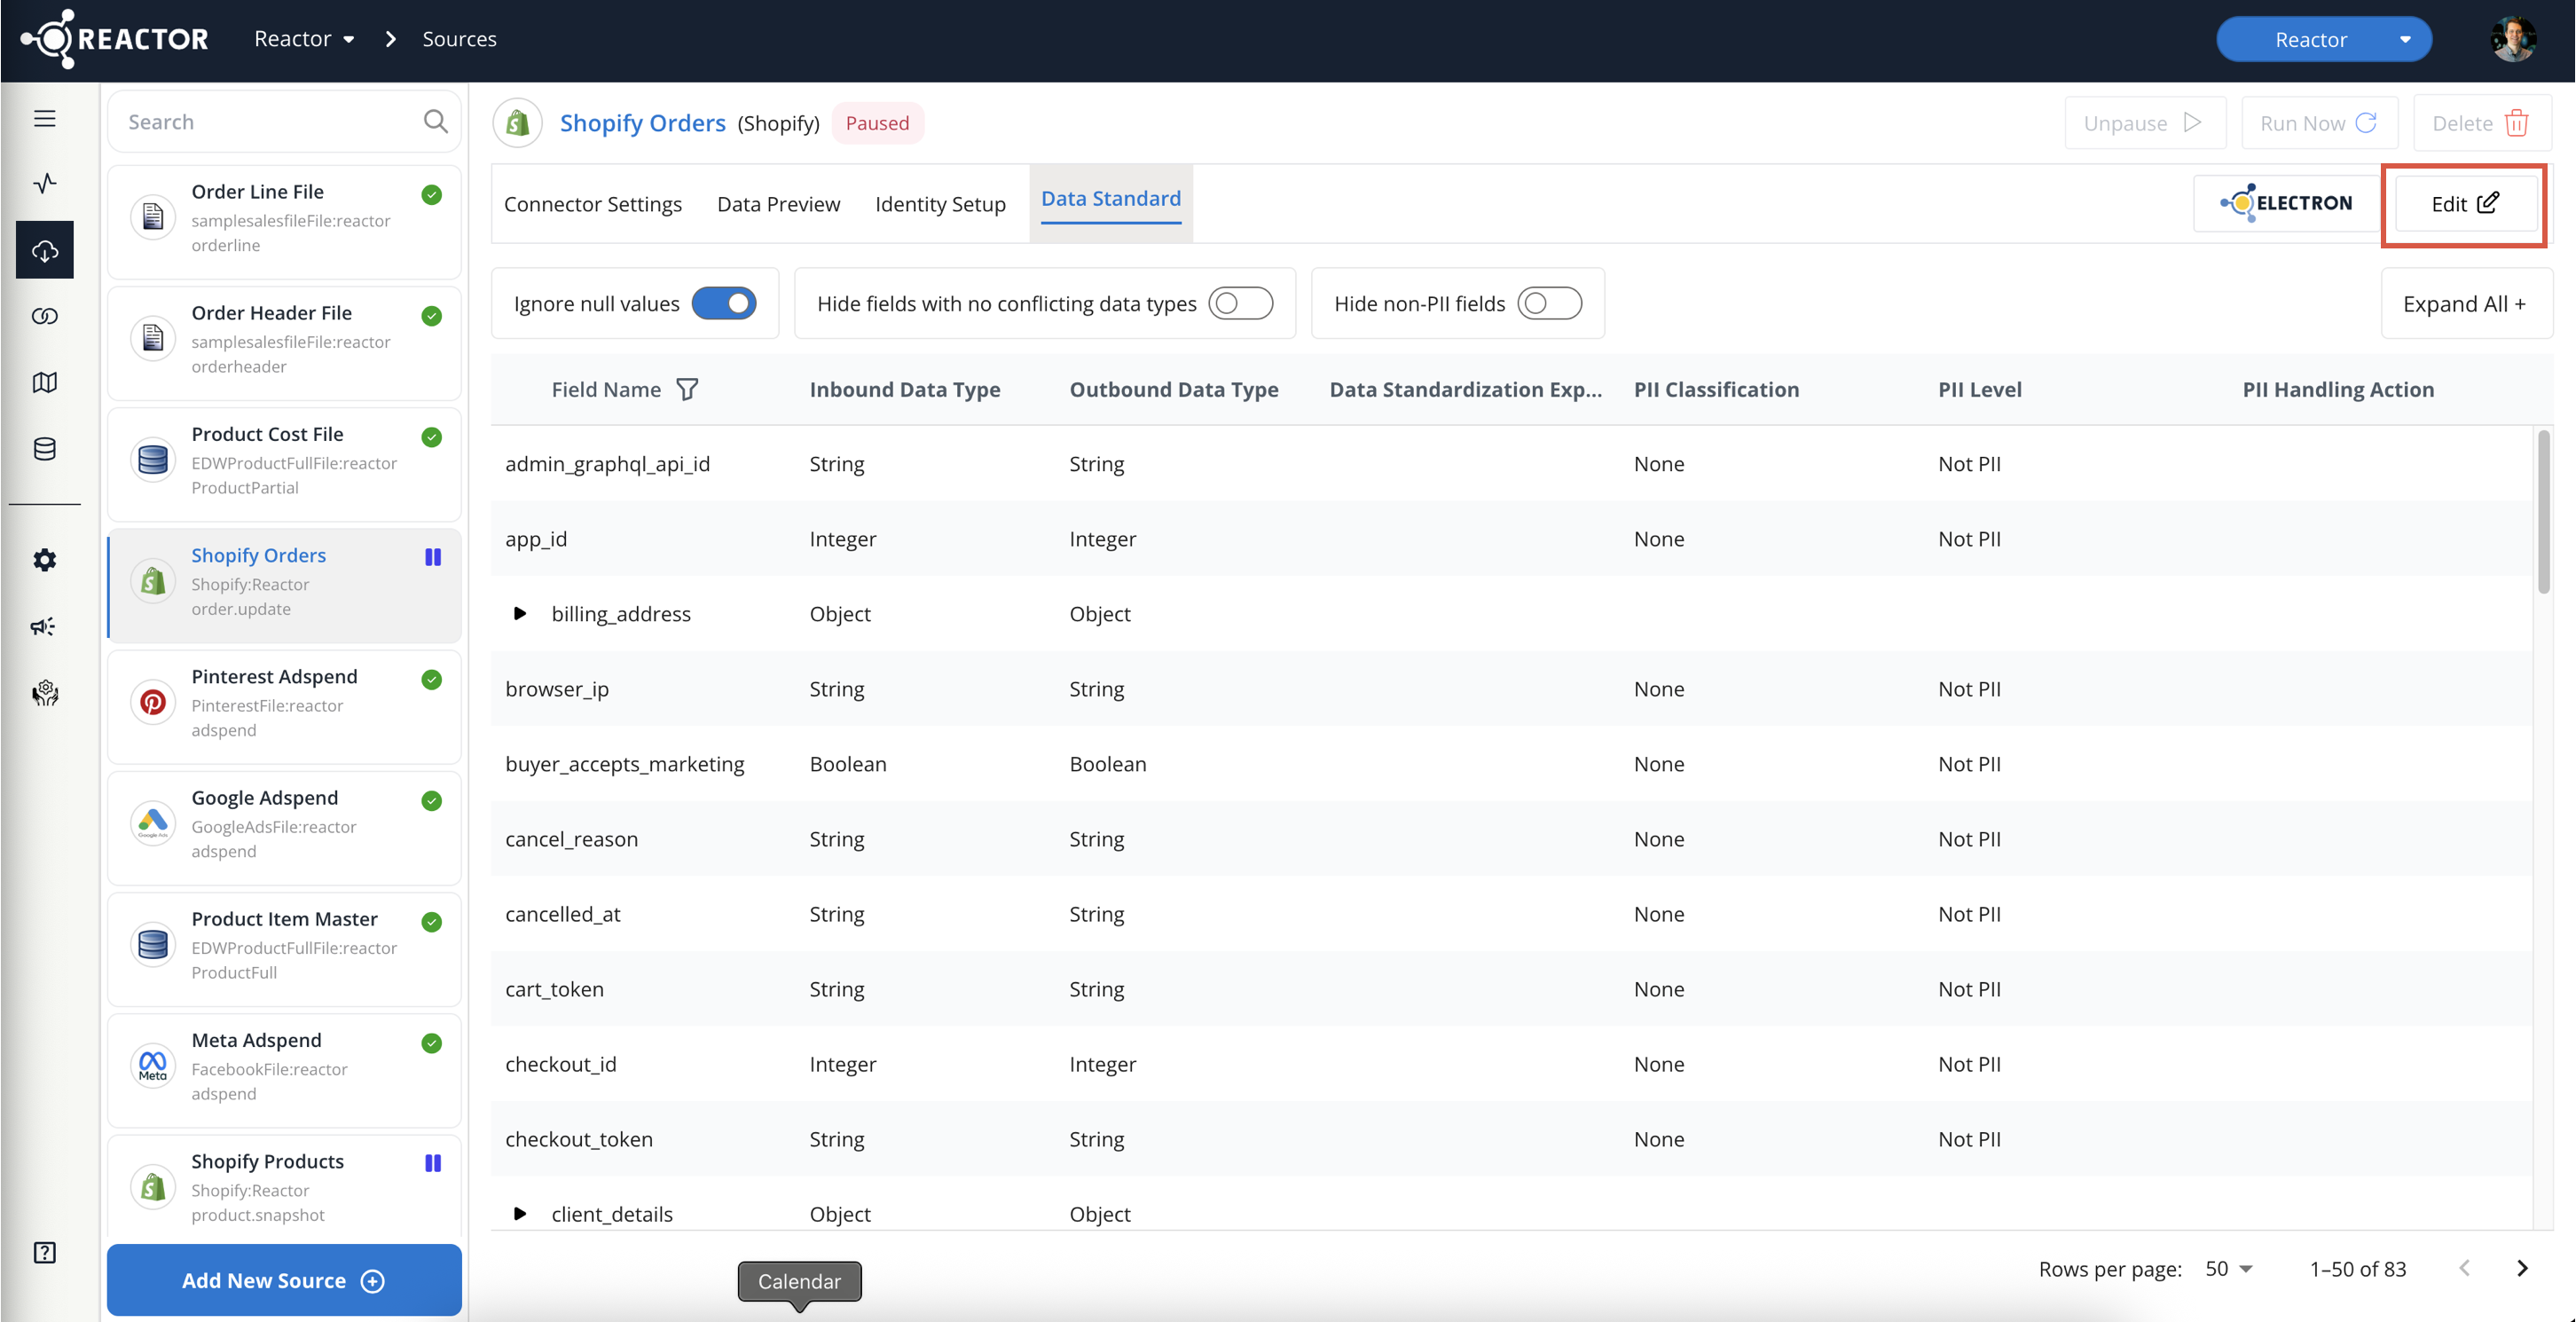
- Select the Edit button at the top-right of the screen to enter Edit mode:
-
Configure Fields:
- To edit any field:
- Click on the row where that field is located in the Data Standard table to open the Field Editor screen.
- Select the Data Standard tab to update the field's data type and/or write a data standardization expression for that field.
- For more information on standardizing data types, see the Resolving Conflicting Data Types section below.
- For more information on cleansing source data, see the Writing Data Cleansing Expressions section below.
- Select the PII Settings tab to update the field's PII handling rules.
- For more information on configuring PII controls, see the Configure PII Settings section below.
- When you are done editing the field, select the blue Done button to apply your changes.
- If you wish to discard your changes, select the X button.
- To edit any field:
-
Deploy Your Changes:
-
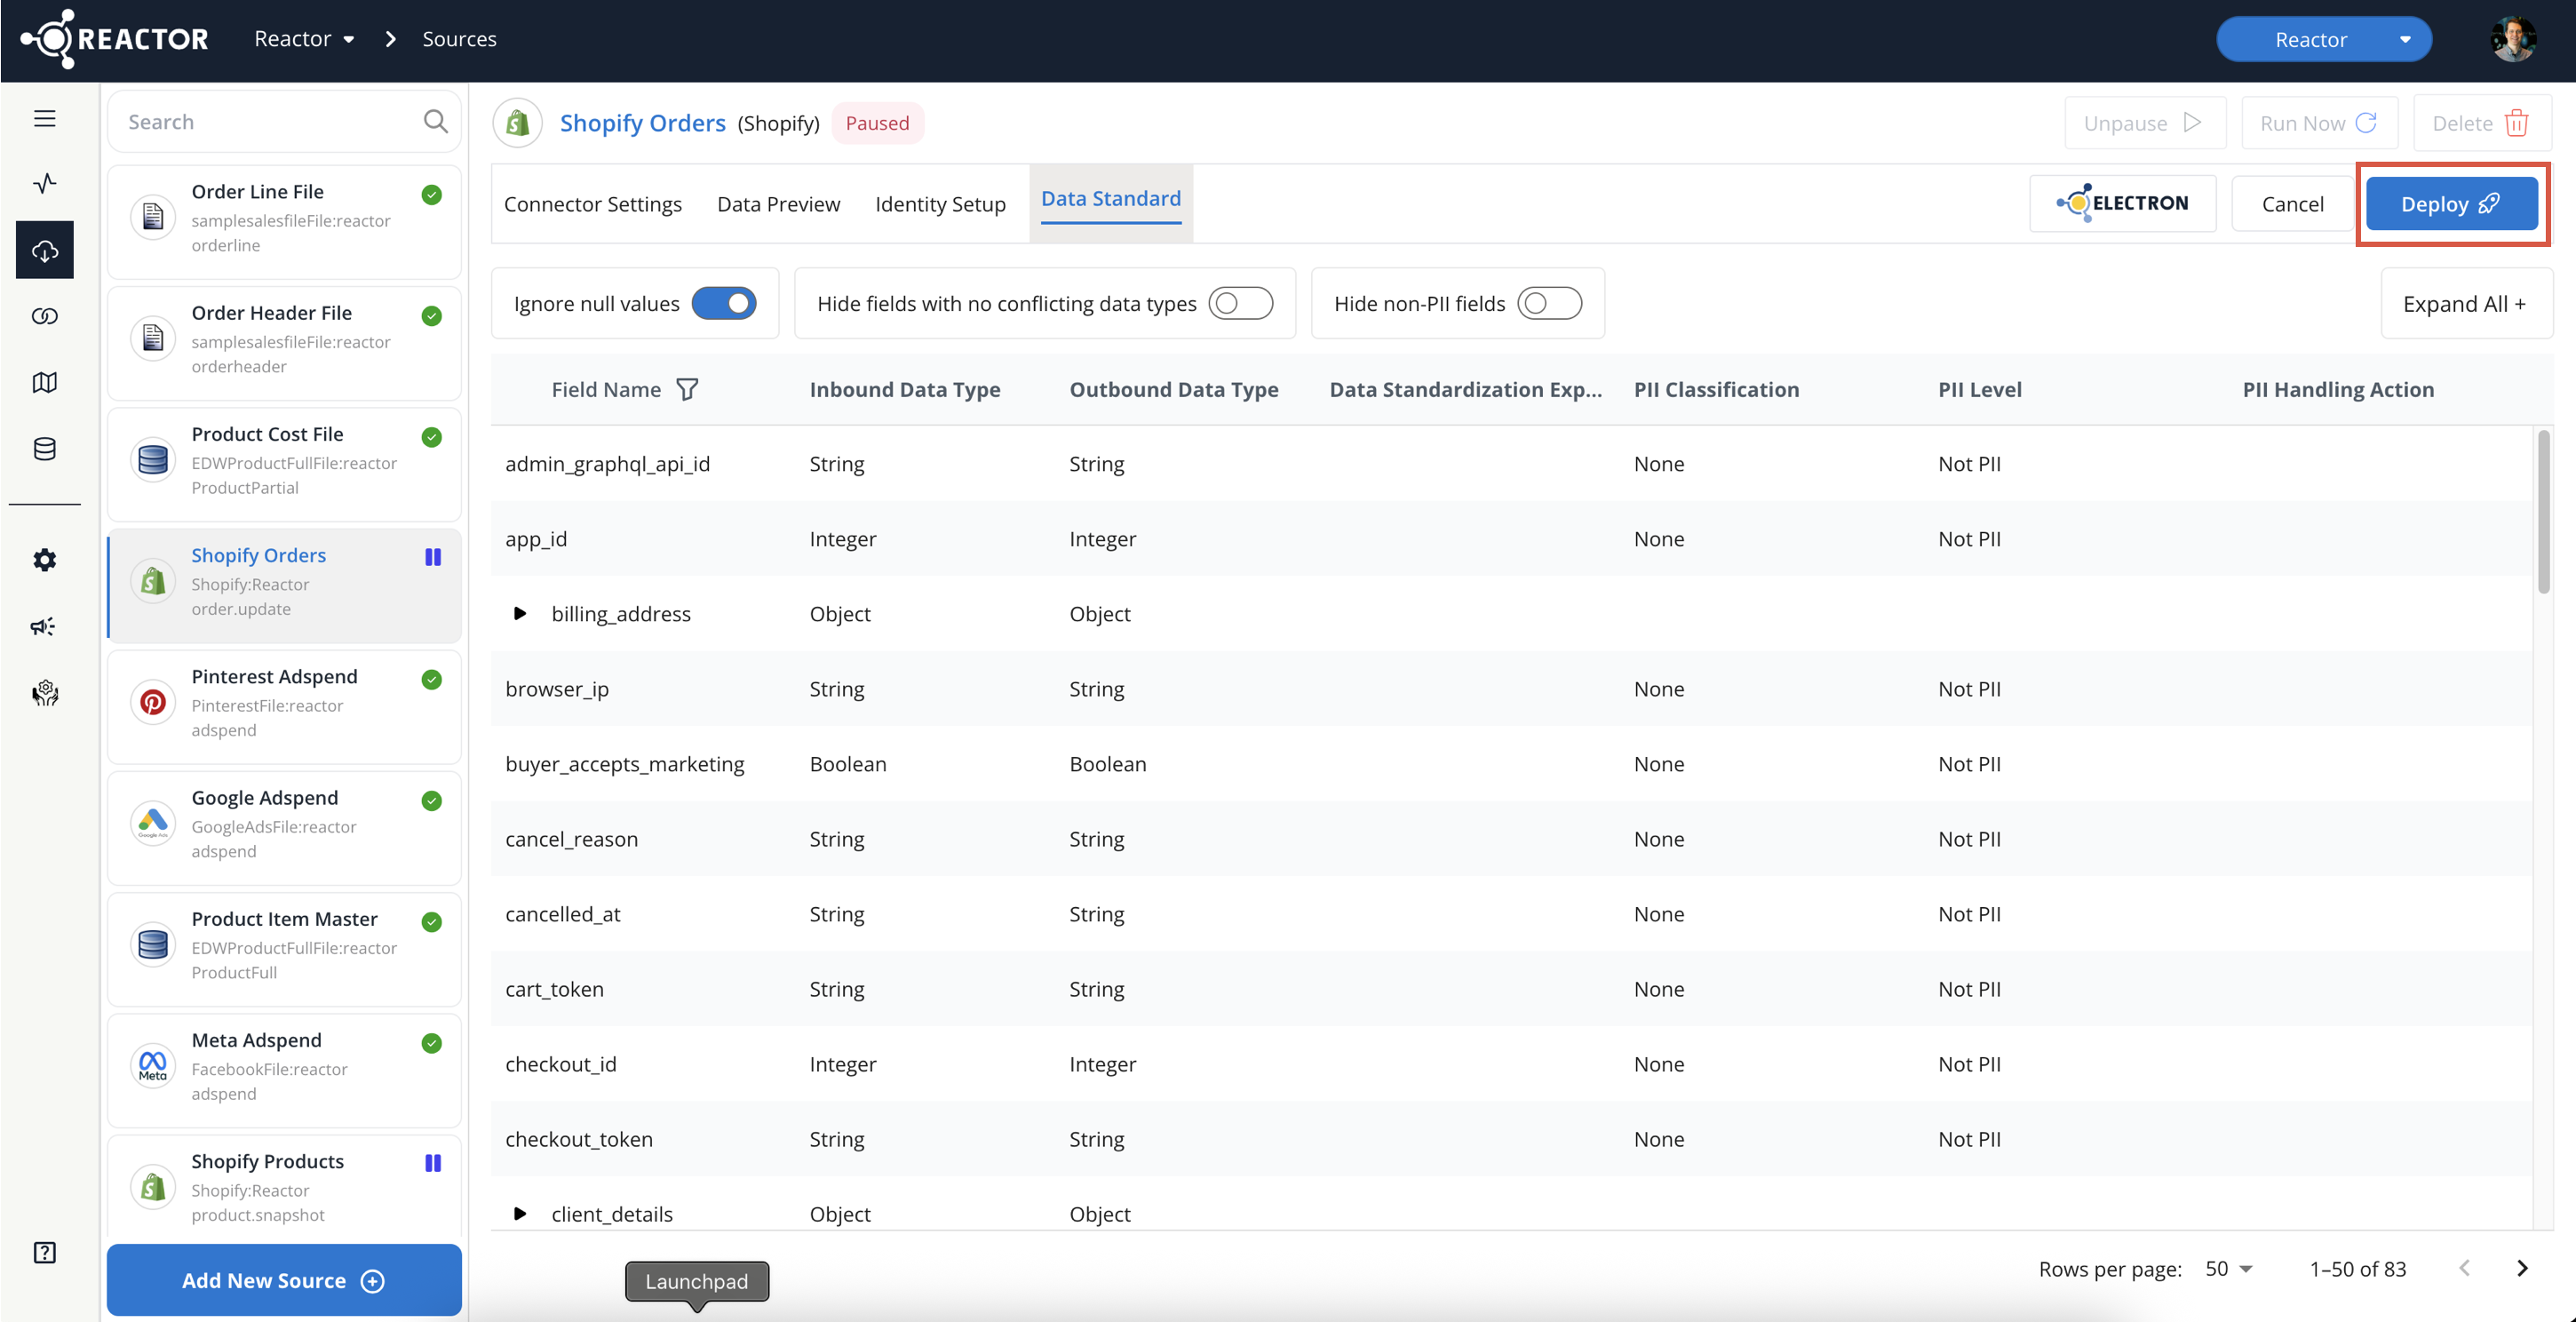
To save and apply your Data Standard changes, click the "Deploy" button at the top of the page.
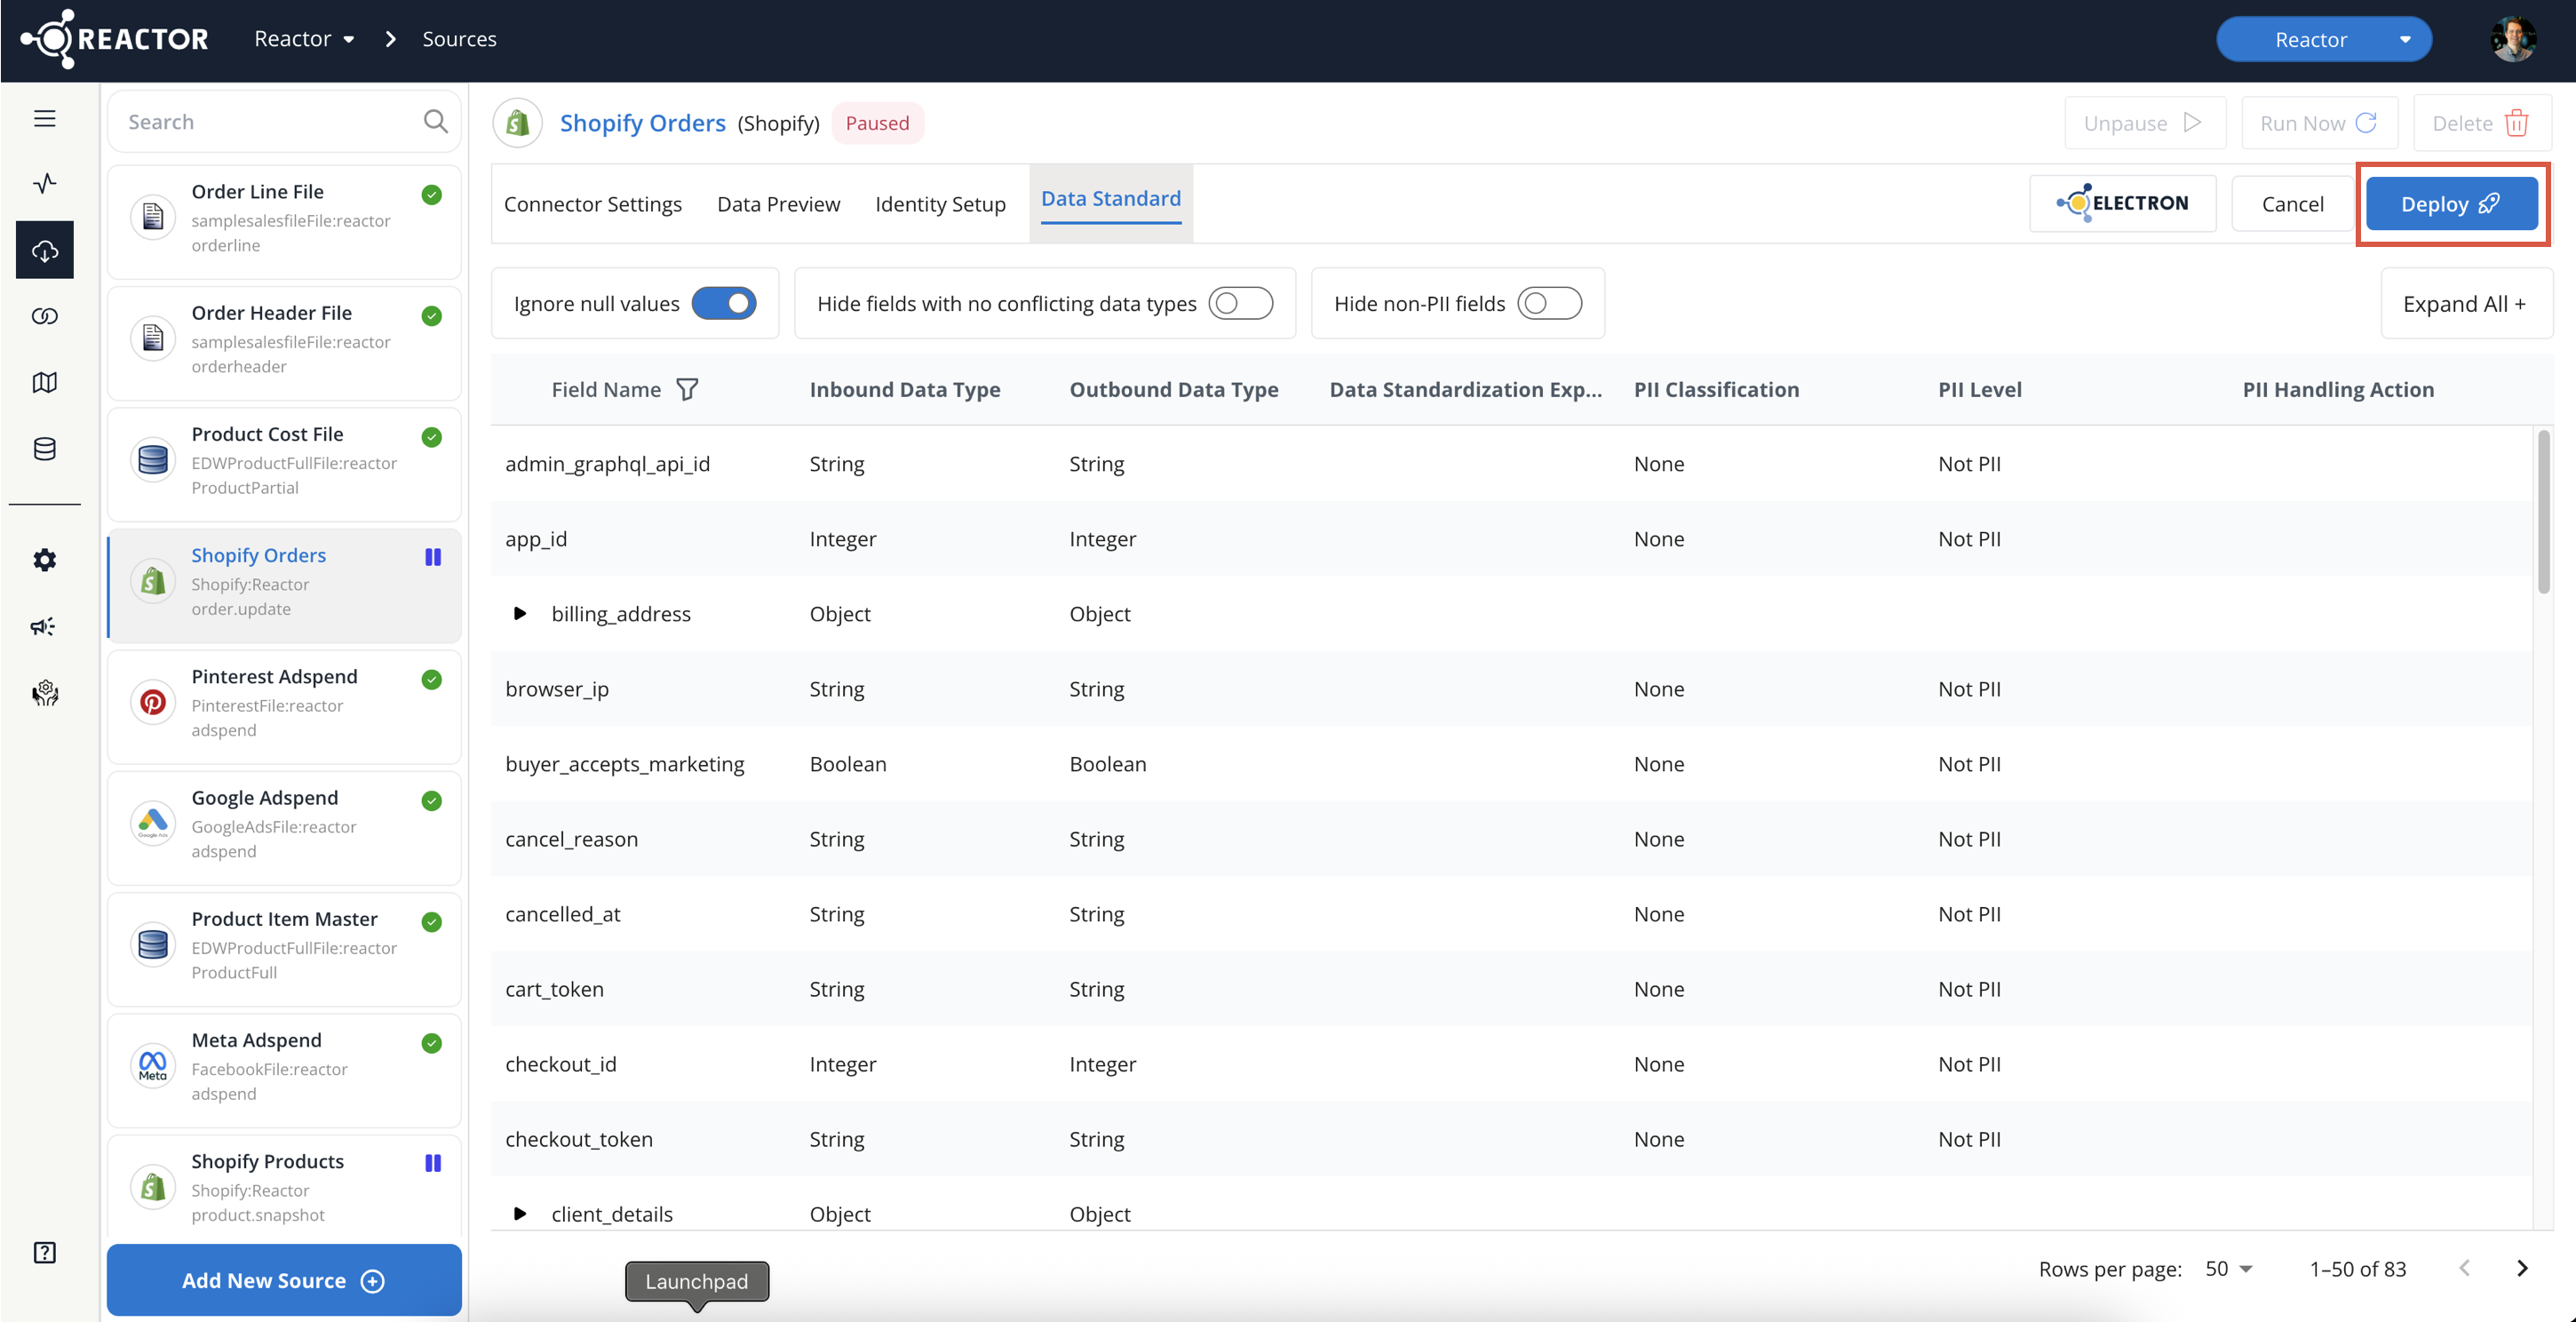
-
Writing Data Cleansing Expressions
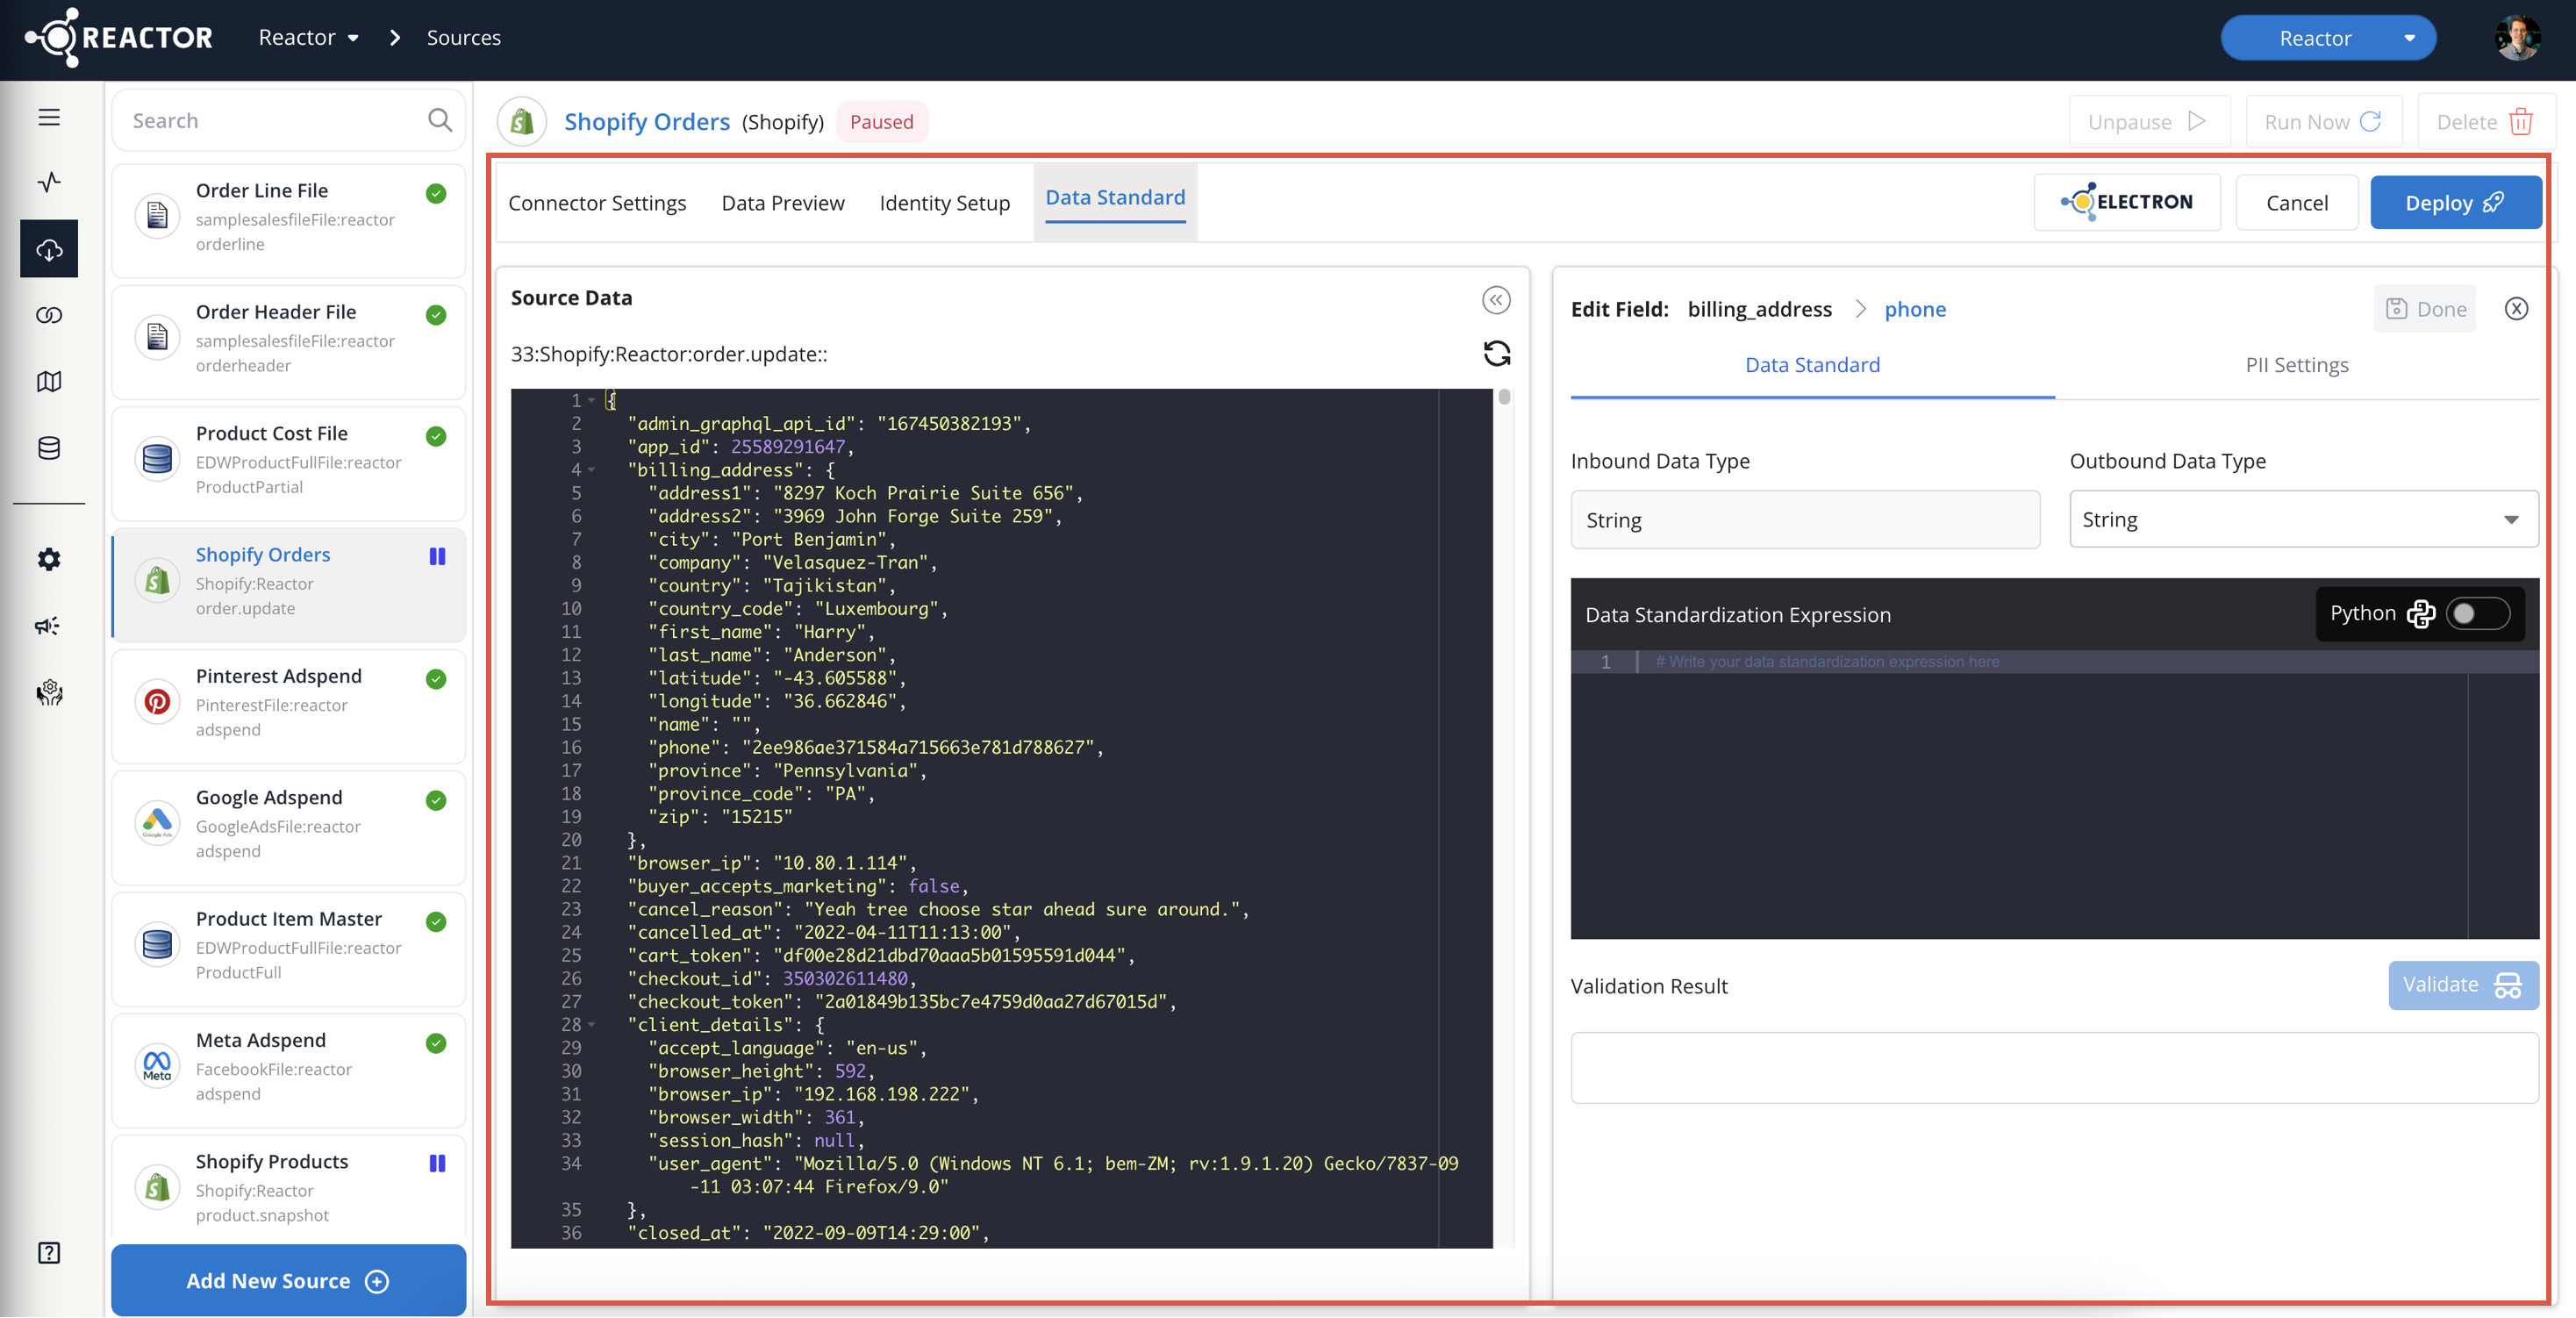
The Data Standard tool can also cleanse source data. To do this, write a transformation expression in the "Expressions" column for any field.
- The "Expressions" column uses the same language and functions as the Mappings UI. (See Writing Mapping Expressions and Mapping Function Library, Overview, & Glossary for more information.)
- Use "value" to reference the incoming value of a source field.
ℹ️ For more information on transformation expressions and functions, consult these related help articles:
Example: Standardizing a Phone Number Field
In this example, the billing_address.phone field is a string, and we want to remove any non-numeric characters.
A Regex Replace function can achieve this standardization:
Resolving Conflicting Data Types
When Reactor detects multiple data types in a field, you may need to enforce a single data type. This ensures that mapping expressions in the Mappings UI work correctly.
- For a field with conflicting data types, click the arrow in the "Inbound Data Type" column. (Make sure "Hide fields with no conflicting data types" filter is deselected.)
- One row will appear for each detected data type.
- Select the desired data type in the "Outbound Data Type" column.
- Write a transformation expression to convert values with other data types to the desired type.
Example: Converting an Integer to a String
In this example, the Price field is converted from a String to a Number, using a Decimal function wrapped in an IfError function:
- Expression used:
IFERROR ( DECIMAL (value) , null )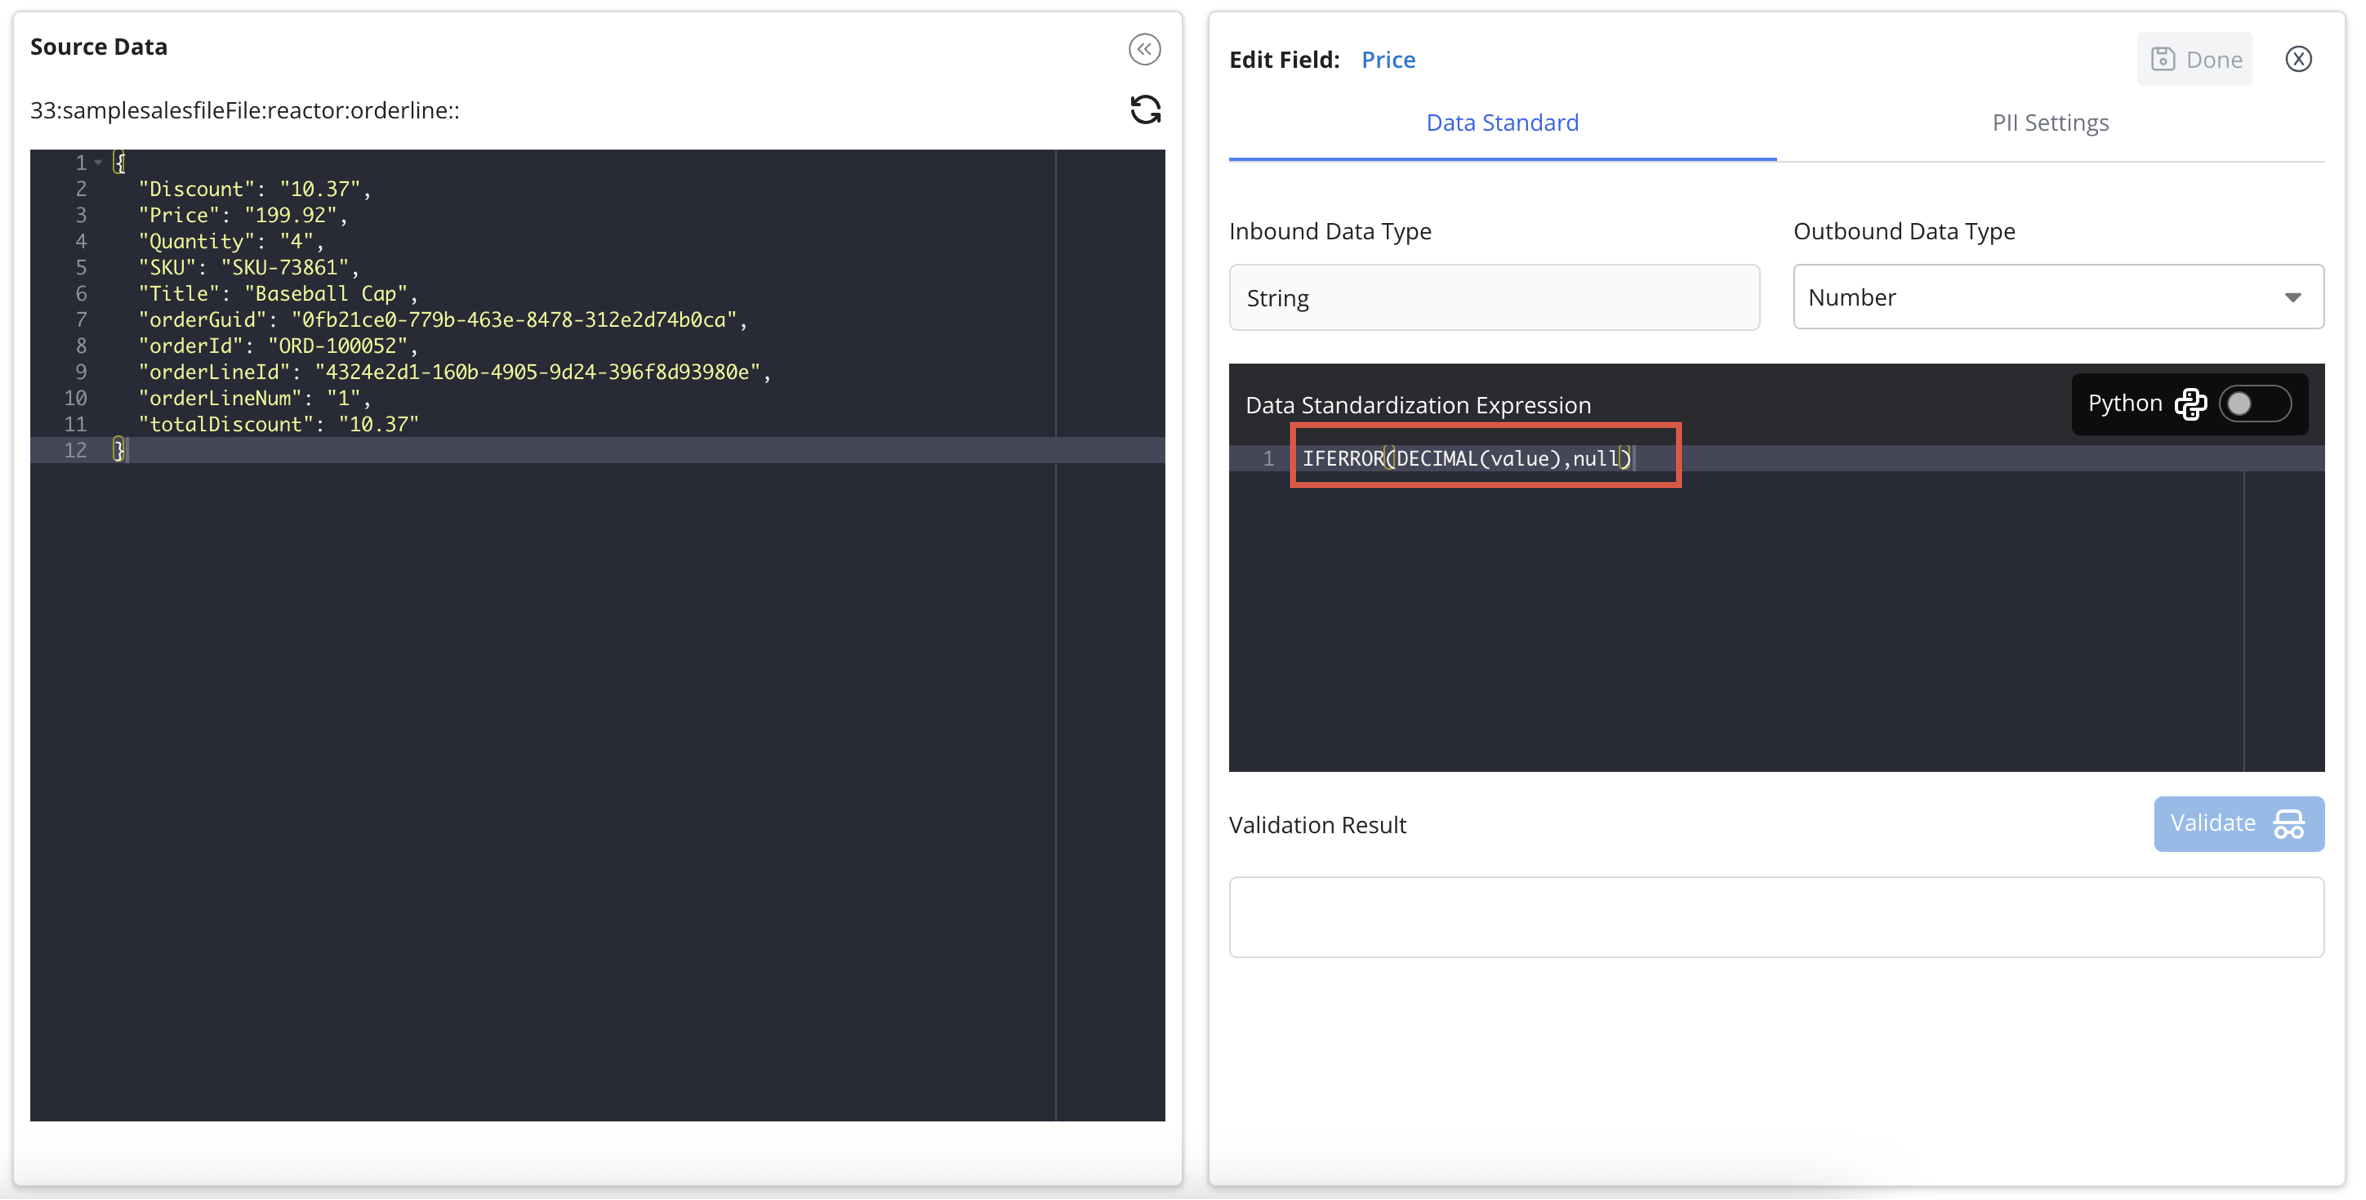
- ℹ️ Remember that the "Expressions" column uses the same language and functions as the Mappings UI, and you can use "value" to reference the incoming field value.
Configure PII Settings
To effectively manage Personally Identifiable Information (PII) and enable Reactor's data deletion and redaction capabilities, you must configure PII settings within the Data Standard for each connected data source. Reactor Data users can define PII fields for each connected data source. PII settings are how Reactor knows what to mask, redact, or hash in the case of a customer data deletion request. For more information on this process, refer to the Data Deletion Process page.
For each PII field, you will be able to define:
- PII Classification: Categorize fields as PII, None, or Other.
- PII Level: Categorize fields as Direct PII or Indirect PII.
-
PII Handling:
- PII Handling Action on Anonymization: This option specifies whether and how to anonymize the field when Reactor processes a data deletion request.
- PII Handling Action on Storage: This option specifies whether and how to anonymize the field before the data is stored. The original PII value will not be stored, visible in the Reactor interface, or transmitted to any downstream destinations if a handling action on storage is defined.
-
PII Handling Options: When designating whether a PII field should be handled on storage or on anonymization, you will need to specify how you'd like your PII fields anonymized. For each PII field, you can choose one of the following actions:
- Hash: Anonymize the data using the 128-bit MurmurHash3 algorithm.
-
Mask: Obscure certain characters with a masking character of your choice. Users input a character to use for masking (e.g.,
*,#, etc.), and also define how many characters from the beginning and/or how many characters from the end to replace with the mask character. - Replace: Substitute the PII with null or a default string.
Deploying Your Changes
To save and apply your Data Standard changes, click the "Deploy" button at the top of the page.
What's Next?
After deploying the Data Standard, you can:
- Link this data source to another source in Reactor. (See How to Link Sources for more information.)
- Or, if linking is not needed, you can map your source data. (See our Mapping documentation for more information.)